Thirty years ago we erected a greenhouse on the south side of our shop building. It has 12 triple thickness polycarbonate panels that are four feet wide and 20 feet long. Their projected life was 20-25 years and they definitely showing their age. Eight years ago I had flipped them all upside down because hail had penetrated the top layer or two so that there were 25-50 holes in each panel. Snow that flowed into these openings froze preventing sheets of snow from sliding down the glazing.
 |
| First Glazing Panel Removed from Greenhouse. |
It's really important to warm the greenhouse with as much winter sunlight as possible to keep everything inside from freezing. Snow has to be removed. It didn't take too many shoveling sessions in windy, freezing conditions to convince me that the work involved to put the smooth bottom glazing layers on top was worth it. This greatly reduced the amount of snow shoveling but the snow that piled up at the base of the greenhouse still had to be removed to allow more snow to slide down the glazing.
 |
| Four Panels to Go! |
Another hail storm last year poked 15 to 30 holes in each of the flipped panels and these would impede snow from sliding down this winter. As you can see from the photos, the glazing is very yellow/opaque and probably lets less than 50% of the sunlight penetrate. That is okay for lettuce but not vegetables that need to grow large enough to plant outdoors in late spring. The glazing has also become quite fragile and had to be patched where flying debris broke holes through it.
 |
| Glazing Panel Repaired by Laminating a Clear PC Layer Behind. |
So now we are in a race against the first frost: will the new panels arrive in time to install them before the first frost?
 |
| Last Panel! |
 |
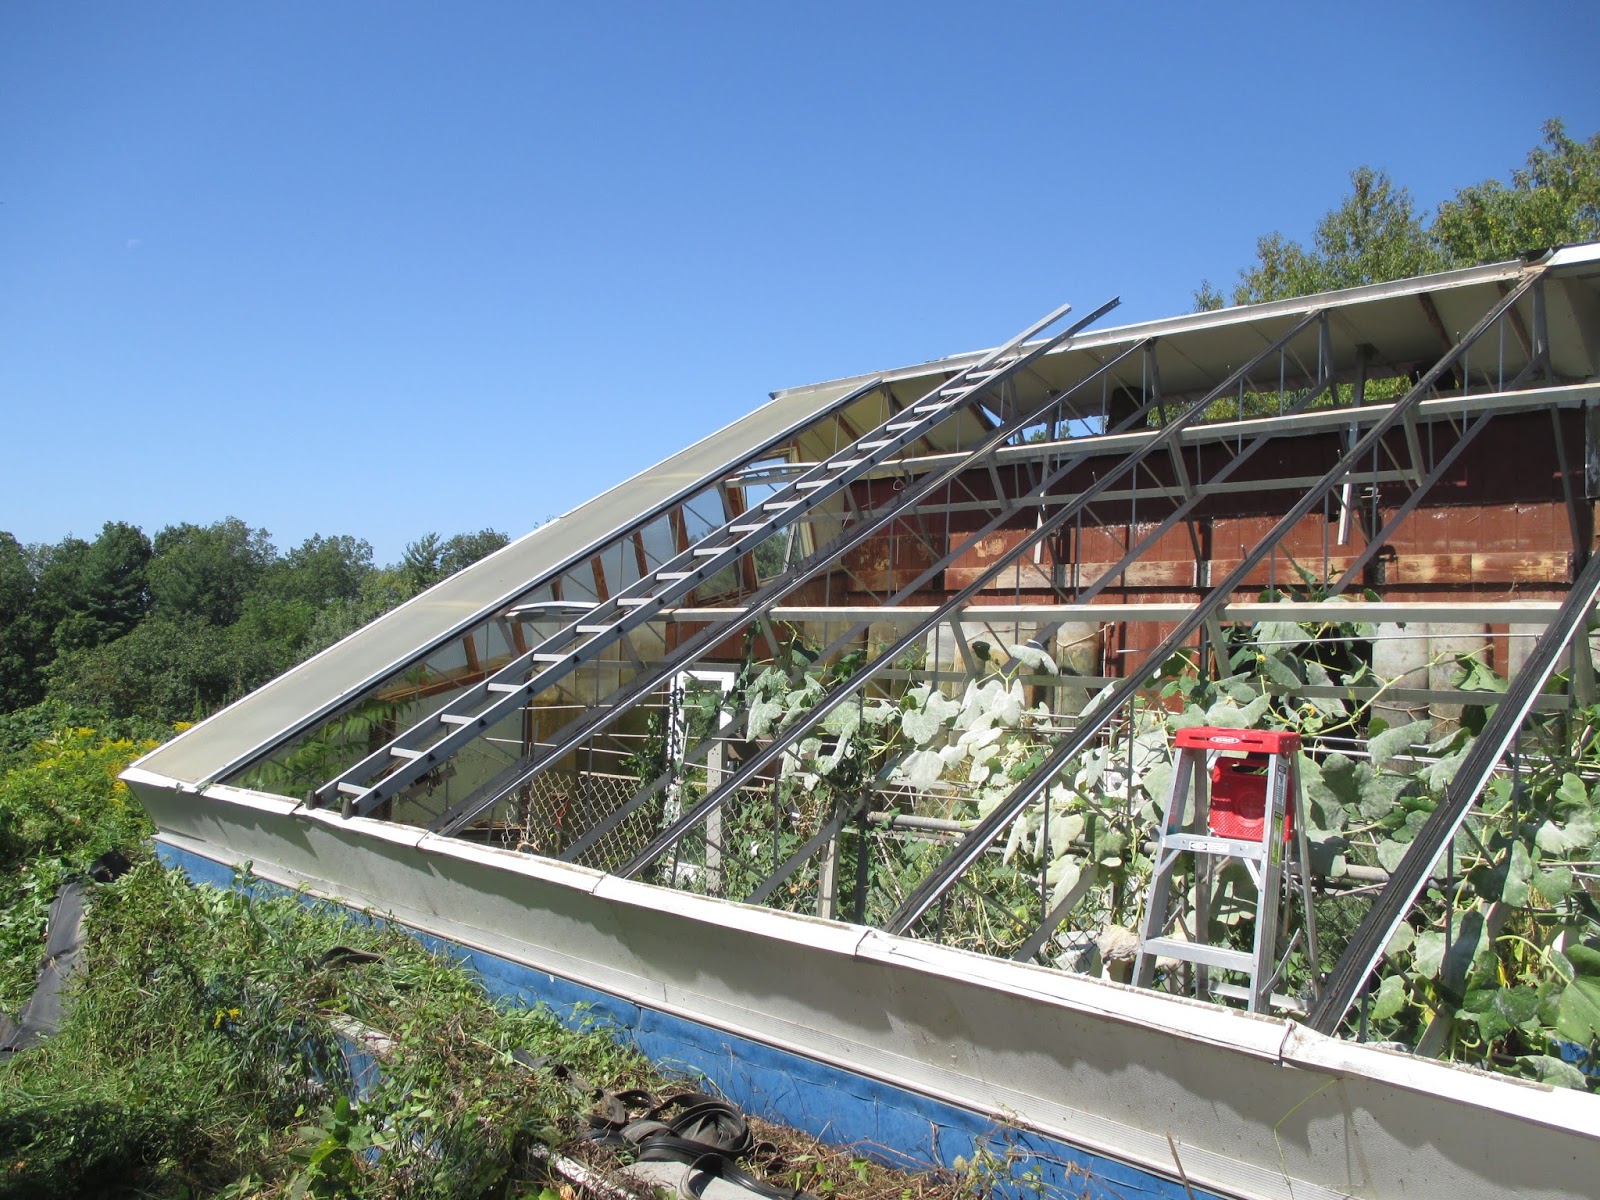
| All Panels removed! |
 |
| View Showing Supports at 1/3 and 2/3 Positions Along Panel Length That Prevent Snow Loads from Bowing the Panels Too Much. A New and Improved Panel Option May Allow Eliminating These Supports. |