We gather a lot of vegetables and flowers. For major harvests we use a wheelbarrow or cart. But most summer days we pick smaller amounts, enough for a meal or two, berries for jam and baking, or flowers for tables and windowsills. Our primary basket was a wedding present we have been using for over three decades. My wife likes to use it for carrying her cut flowers and that often interfered with my collecting veggies for dinner.
 |
| Woven Harvest Basket, 35+ Years Old |
It became obvious that we needed more than one harvest basket (that we call a trug). My wife presented me with one that works okay, but is too small, and, like her basket, has a handle that often deflects thrown peas and beans so that they miss the basket. Both handles also get in the way when grabbing peas or beans between hands when they are on opposite sides. My first trug raised the handle pretty high, attempting to make it easier to fill and empty. This design was heavy and the handle still got in the way. Permanently erect handles also makes baskets bulky to store. Empty, they take up a lot of space.
 |
| Commercial Harvest Basket: Coated Steel Wire Mesh |
 |
| My First Trug: Too Heavy, But Won a Prize |
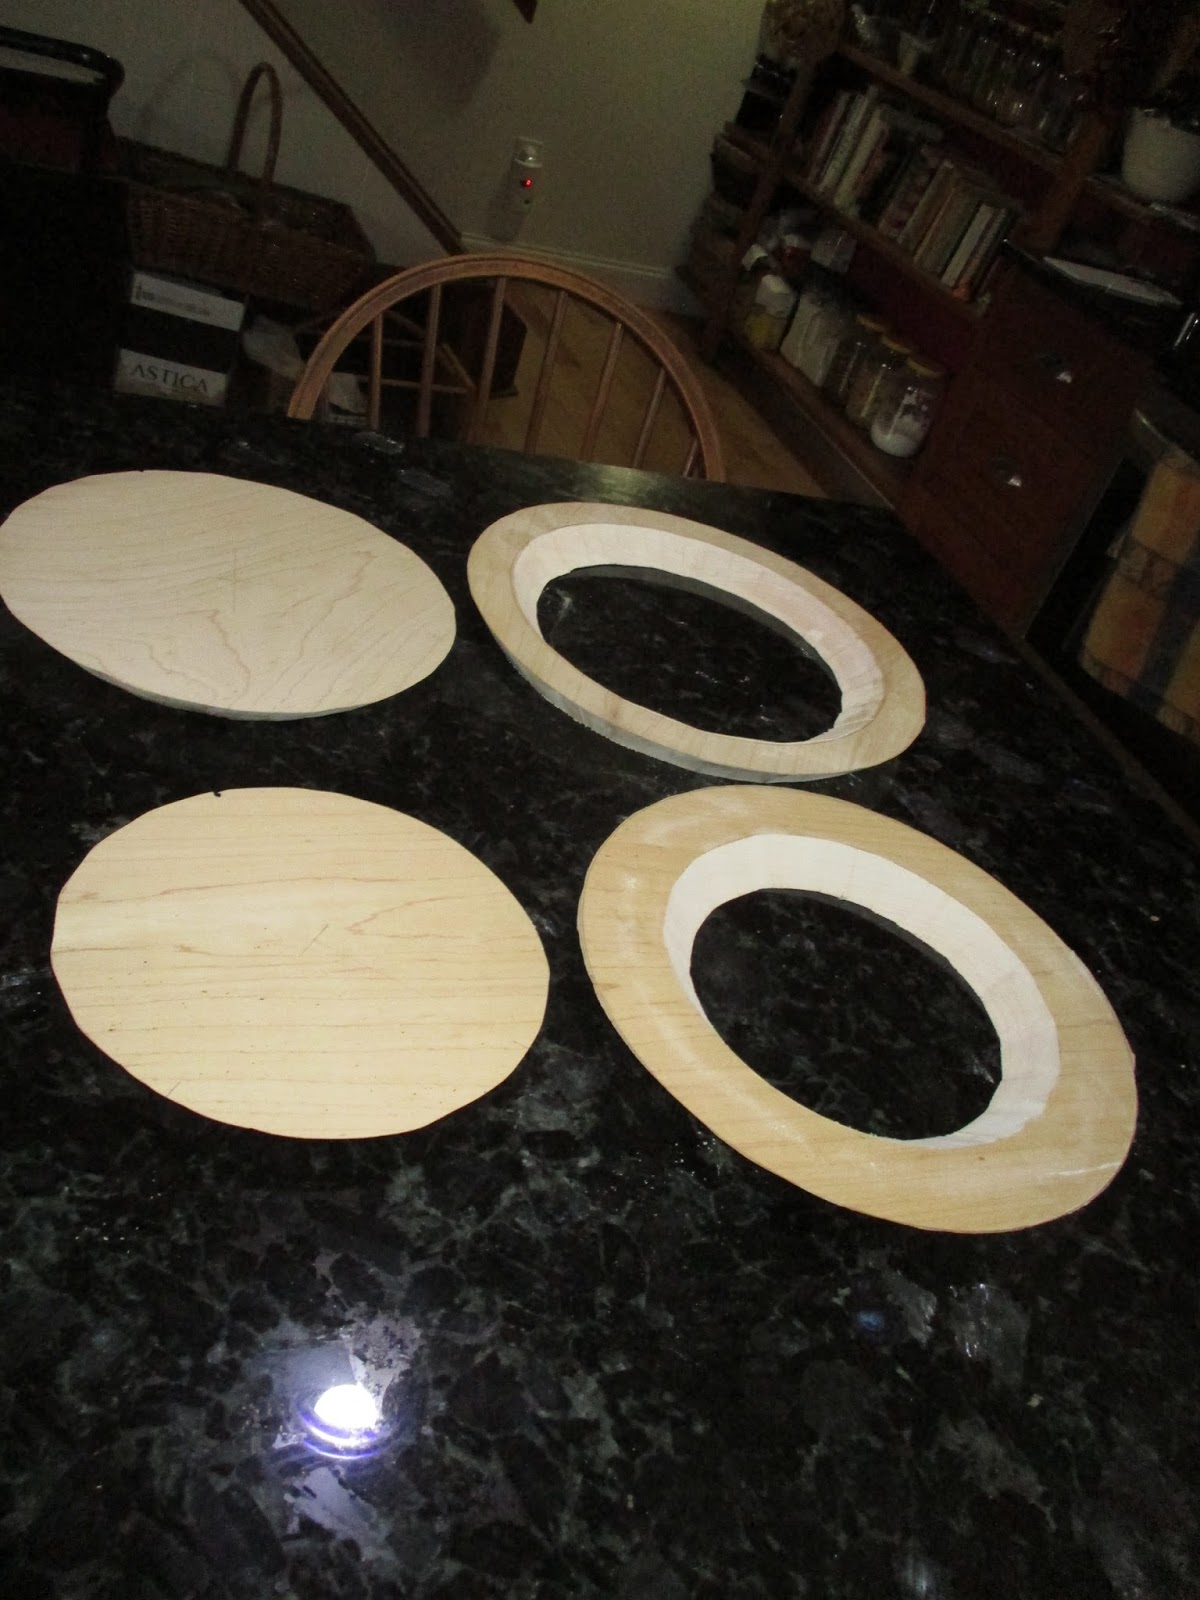
An ideal baskets should have handles that swing out of the way. When you have more than one, they should also stack, one inside another. They should be light enabling heavier payloads. My next one incorporated a handle that could swing to the side for filling, emptying and storing. It also used only a frame of wood and very lightweight rawhide for lacing.
 |
| Trug with Handle Swung to the Side |
 |
| Trug with Handle Erect |
 |
| Three Trugs Together Showing Relative Size |
 |
| Trugs Fills With Produce |
The rawhide I used for the swing-handled trug came from a deer I harvested with a bow and arrow when I was still in high school. With only a limited supply of rawhide, I used one-inch wide webbing for the next pair of trugs that I made for four-year old twins. These work great and though they are a bit large for them now, they'll grow into them and should last their lifetime. To make them waterproof so that veggies can be washed in the trugs, both the rawhide trug and those made with webbing were given many coats of marine varnish that also melds the webbing to the wood frame.
 |
| Twin Trugs with Handles Swung to the Side |
 |
| Stacked Trugs |


